Sign up for the latest plumbing trends, exclusive offers, and expert tips!
How to Use a Plunger Properly
If you’re having issues with your toilet or sink, knowing how to properly use a plunger could save you from having to call a plumber—but is it easier said than done?
While a plunger may seem intuitive to use, it’s still easy to make mistakes with consequences ranging from wet clothes to making the problem worse. Fortunately, this guide will keep you dry and your toilet, sink, or drain working as intended.
Keep scrolling to learn how to use a plunger correctly!
Understanding the Different Types of Plungers
Knowing how to properly use a plunger starts with knowing which type you have. While they all have the same purpose (fixing clogged toilets and drains) their intricacies vary.
There are generally three main types of plungers to choose from:
Cup Plunger
Also known as sink plungers, these have a wooden handle with a rubber plunger cup designed to work on flat surfaces. As the name implies, they’re for sinks and drains.
Flange Plunger
Also known as regular toilet plungers, these have an extra ring of rubber around the cup called a flange. These create a tight seal in a curved toilet drain.
Accordion Plunger
The accordion plunger features an accordion-like bellows instead of a traditional rubber cup. This design allows for stronger suction power when compressed and released.
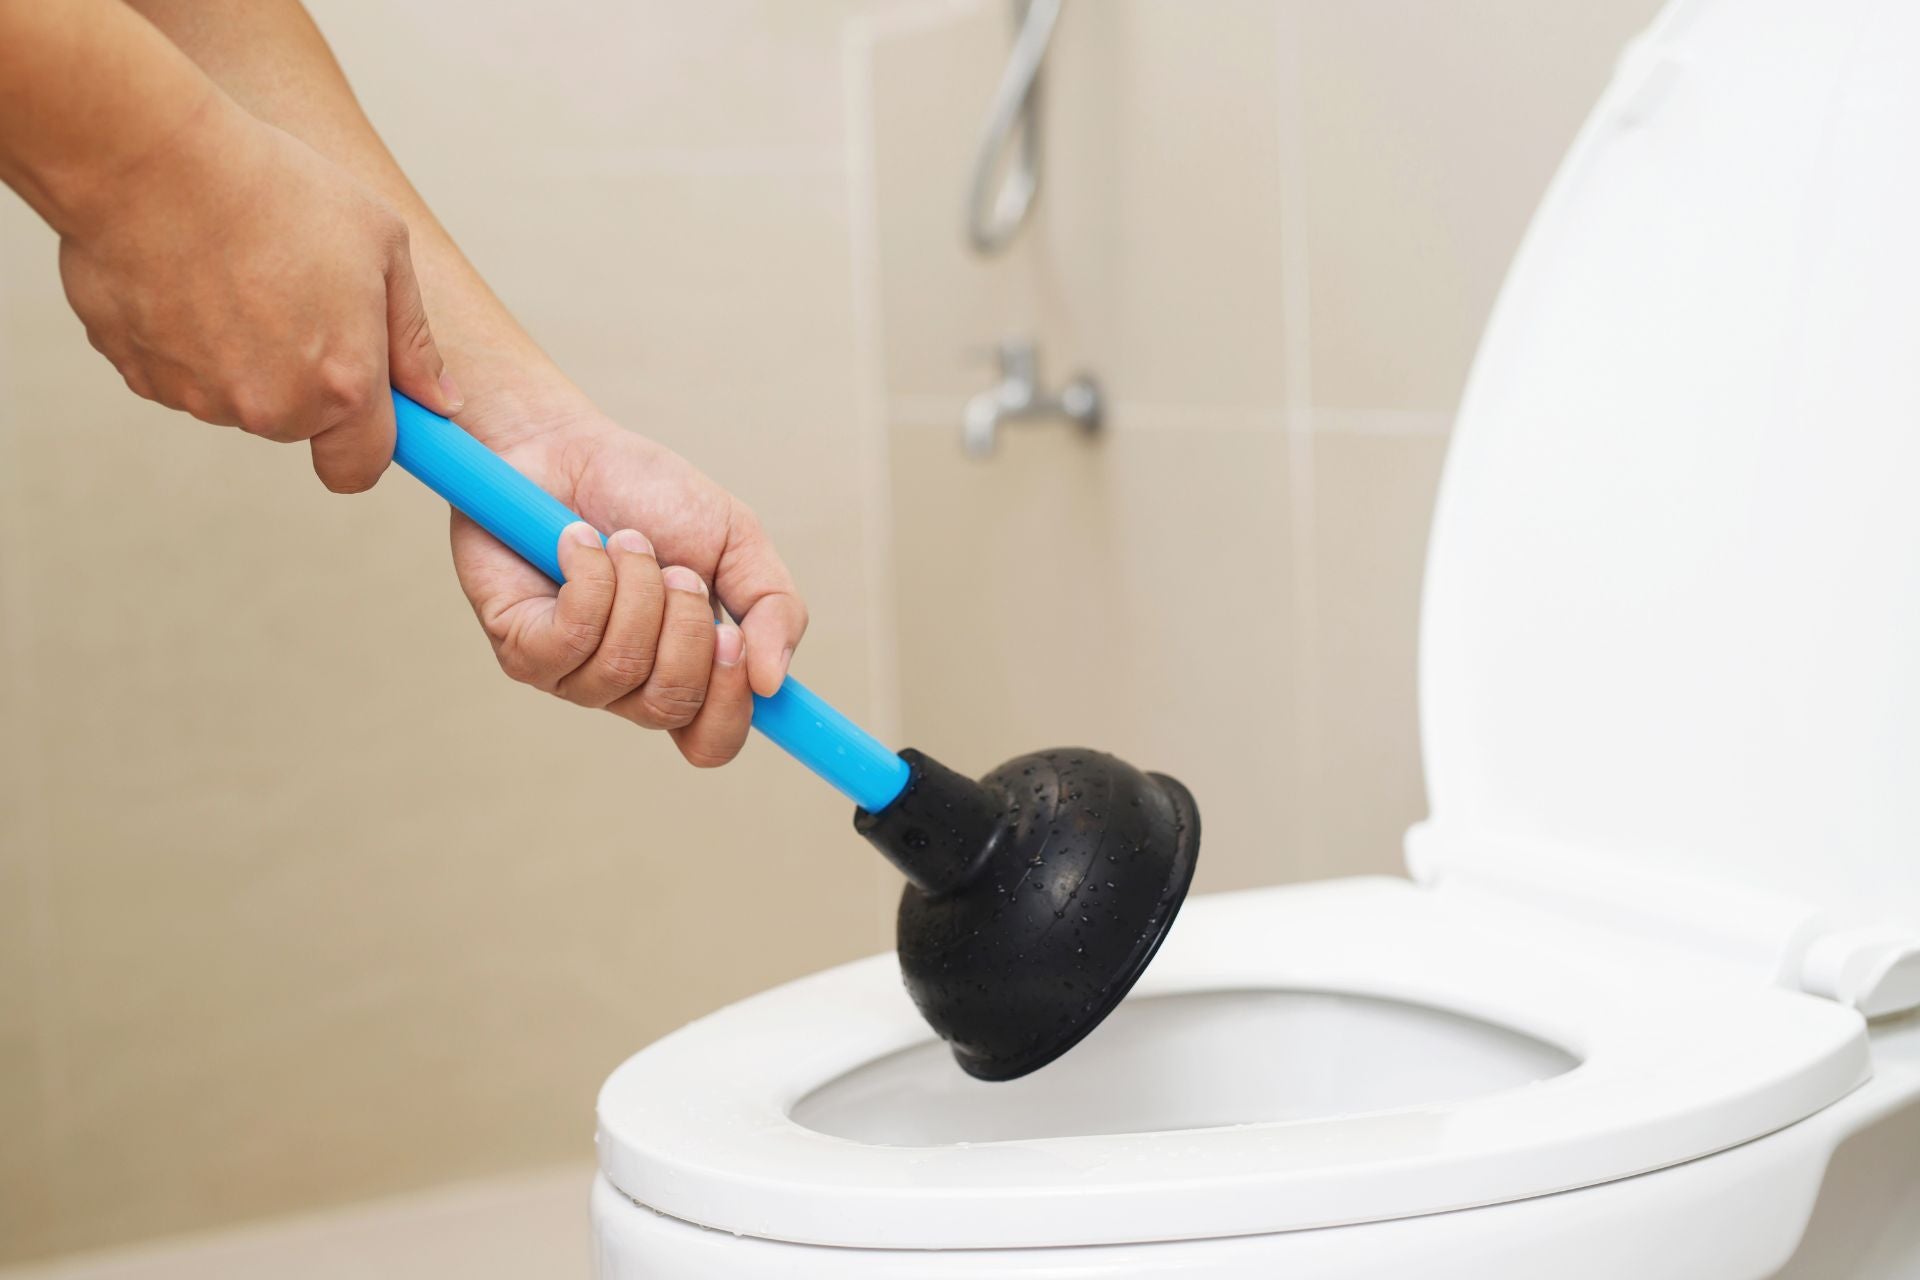
How to Use a Plunger to Unclog a Toilet
No matter the cause, the most common issue you’ll be looking to fix with a plunger is a clogged toilet. So, here’s how to properly use a toilet plunger in five steps!
- Prepare the Area
Get your flange plunger handy, then lay down some old towels around the base of the toilet to catch any water that may splash during the unclogging process. You also may want to wear rubber gloves to keep your hands clean.
- Inspect the Water Level
You may need to remove some water with a bucket to prevent overflow when plunging. If there is no water or the level is low, add some so you can submerge the plunger. This is a can’t-miss tip when learning how to use a plunger correctly.
- Position the Plunger and Create a Seal
Place the flange of the plunger over the toilet’s drain hole at the bottom of the bowl. Now, push the plunger down gently to expel the air and create a seal. Ensure the entire flange covers the drain opening for maximum suction.
- Apply Pressure
Push down on the plunger forcefully, then pull up quickly. This plunging motion creates a suction and pressure that can dislodge the clog. Repeat several times, then check if the clog has been cleared. Repeat if it has not.
Note: You may need to adjust the plunger's position to ensure a proper seal. To need to make sure the flange covers the drain opening entirely.
- Flush the Toilet
Once the water drains, flush the toilet to ensure the clog is completely cleared. If you’ve reached this outcome, you’ve learned how to properly use a toilet plunger!
How to Use a Plunger on a Sink, Shower, or Tub
You can also use a plunger to fix a clog in a sink, shower, or bathtub drain. However, as we also mentioned, you’ll want to use a cup plunger when plunging a sink.
Beyond that, here are some sink, shower, and tub-specific tips:
- Clear any standing water around the drain before you start
- Ensure the cup is fitted completely around the drain hole
- Adjust your plunging motion to be more straight up and down
- Wet the rim of the plunger beforehand to create a better seal
- Flush the drains with hot water once you have finished the process
Of course, knowing how to properly use a plunger doesn’t always equate to results. You may need to contact a professional if your sink plunger efforts are unsuccessful.
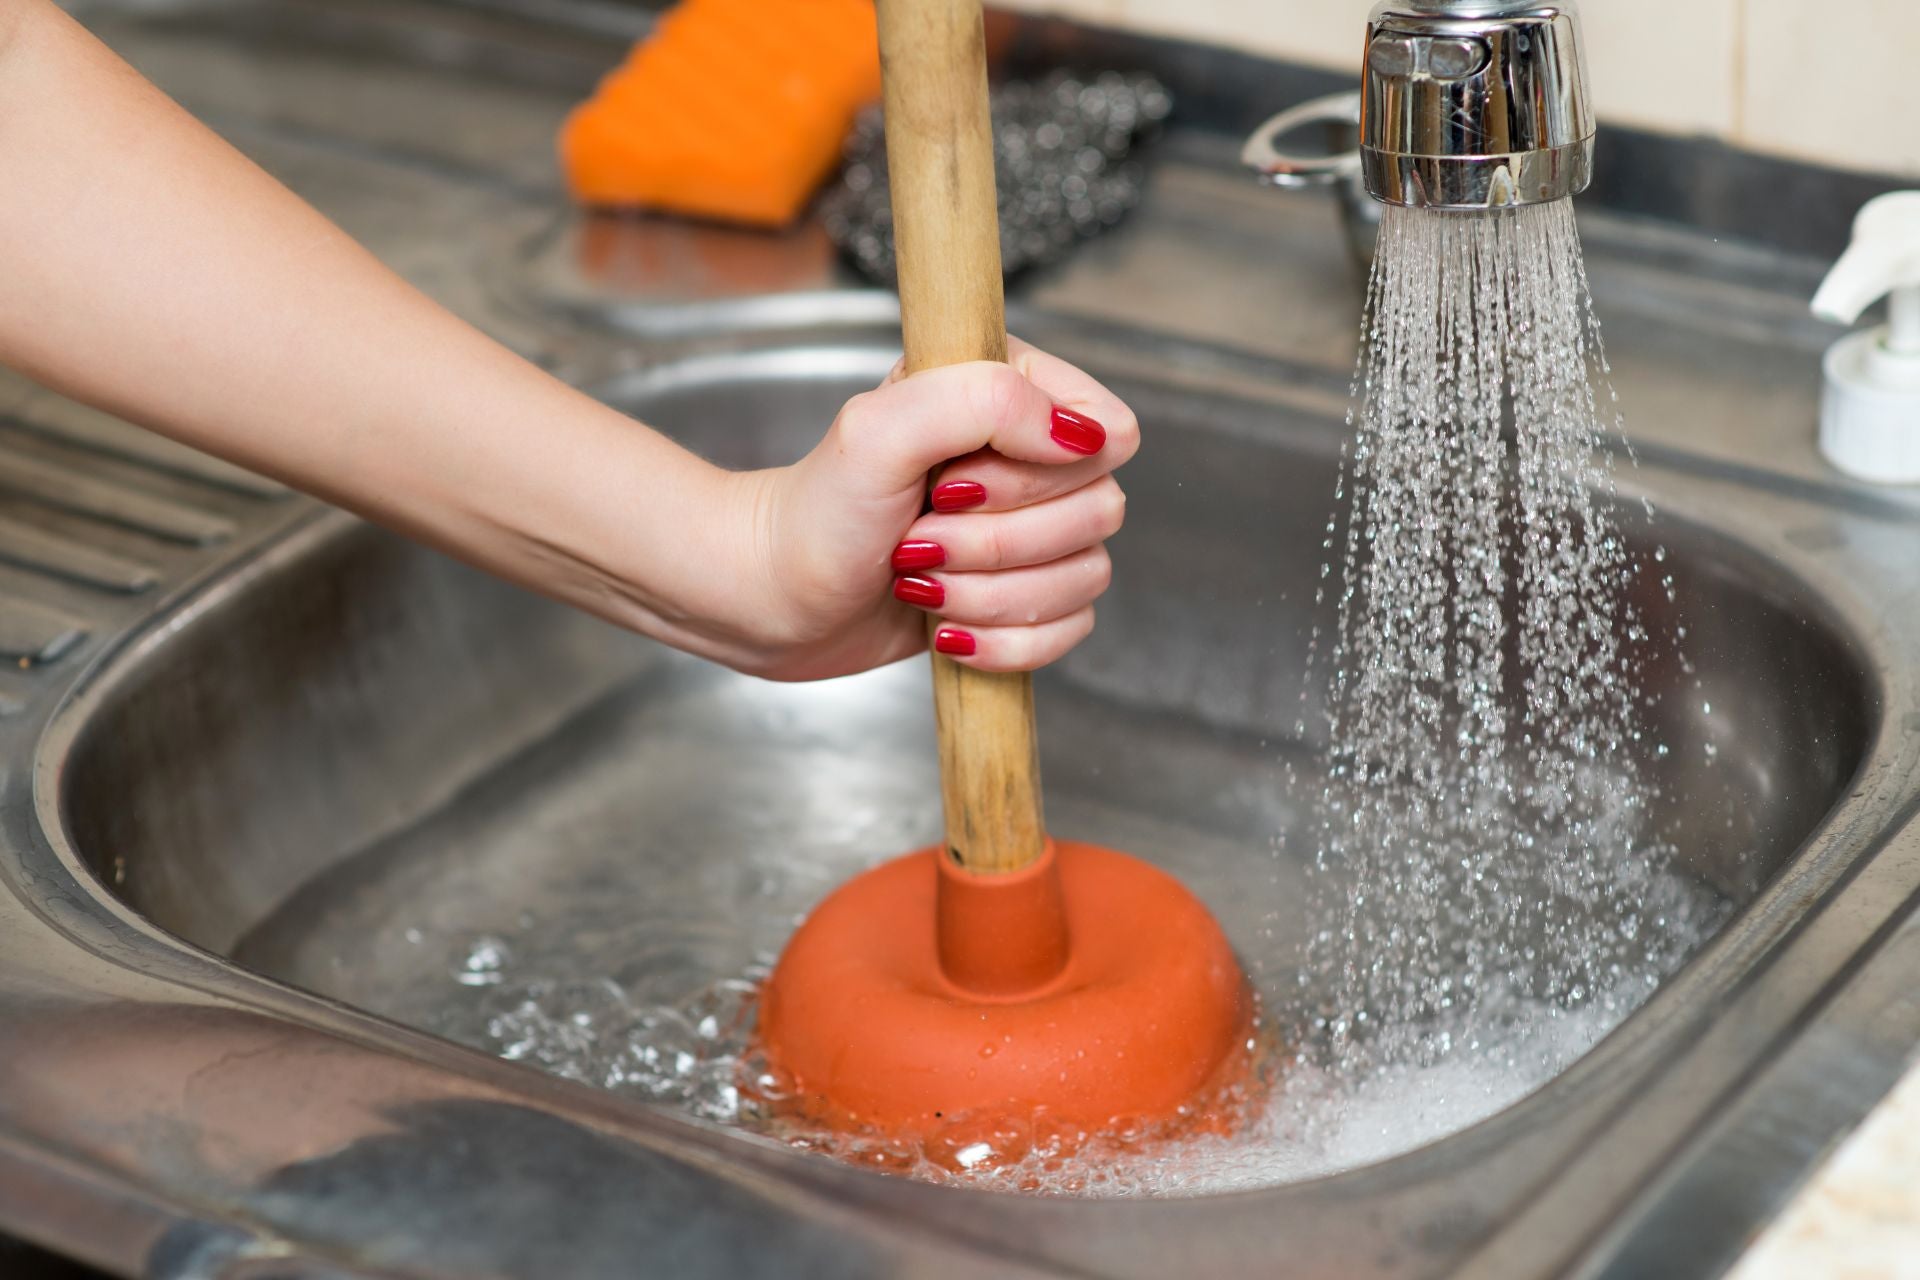
Image source: Canva
How to Clean a Plunger After Use
Clean-up is absolutely part of learning how to use a plunger properly. Assuming your plunger doesn’t need replacing, make sure to properly clean (and sanitize) it after use.
Start by holding the plunger over the toilet bowl or a utility sink and rinse it thoroughly with hot water using a handheld showerhead or a bucket. Apply a bleach solution, scrub the plunger—the cup and handle—using a brush or sponge, then rinse it again.
You should allow the plunger to air dry completely before storing it to prevent the growth of bacteria and mold. A dedicated storage container is recommended!
Shop Replacement Parts and Fixtures at NYDirect
Knowing how to properly use a plunger is great, but some clogs and problems can cause serious damage. In these cases, you may need to replace a part or even your fixture altogether—and that’s when you call NYDirect.
We are a family-owned and operated business that ships all things sinks and toilets directly to your door. Whether you’re looking for a replacement part or a brand-new toilet, count on us to deliver it straight to your door at a great price.
So, if you’ve learned how to use a plunger correctly and are still in need of a more permanent solution, contact us today!
Sign up for the latest plumbing trends, exclusive offers, and expert tips!
Shop Popular Brands
America's Leading
Plumbing Supplies Retailer
Save big on plumbing essentials with
our wholesale prices!

Leave a comment