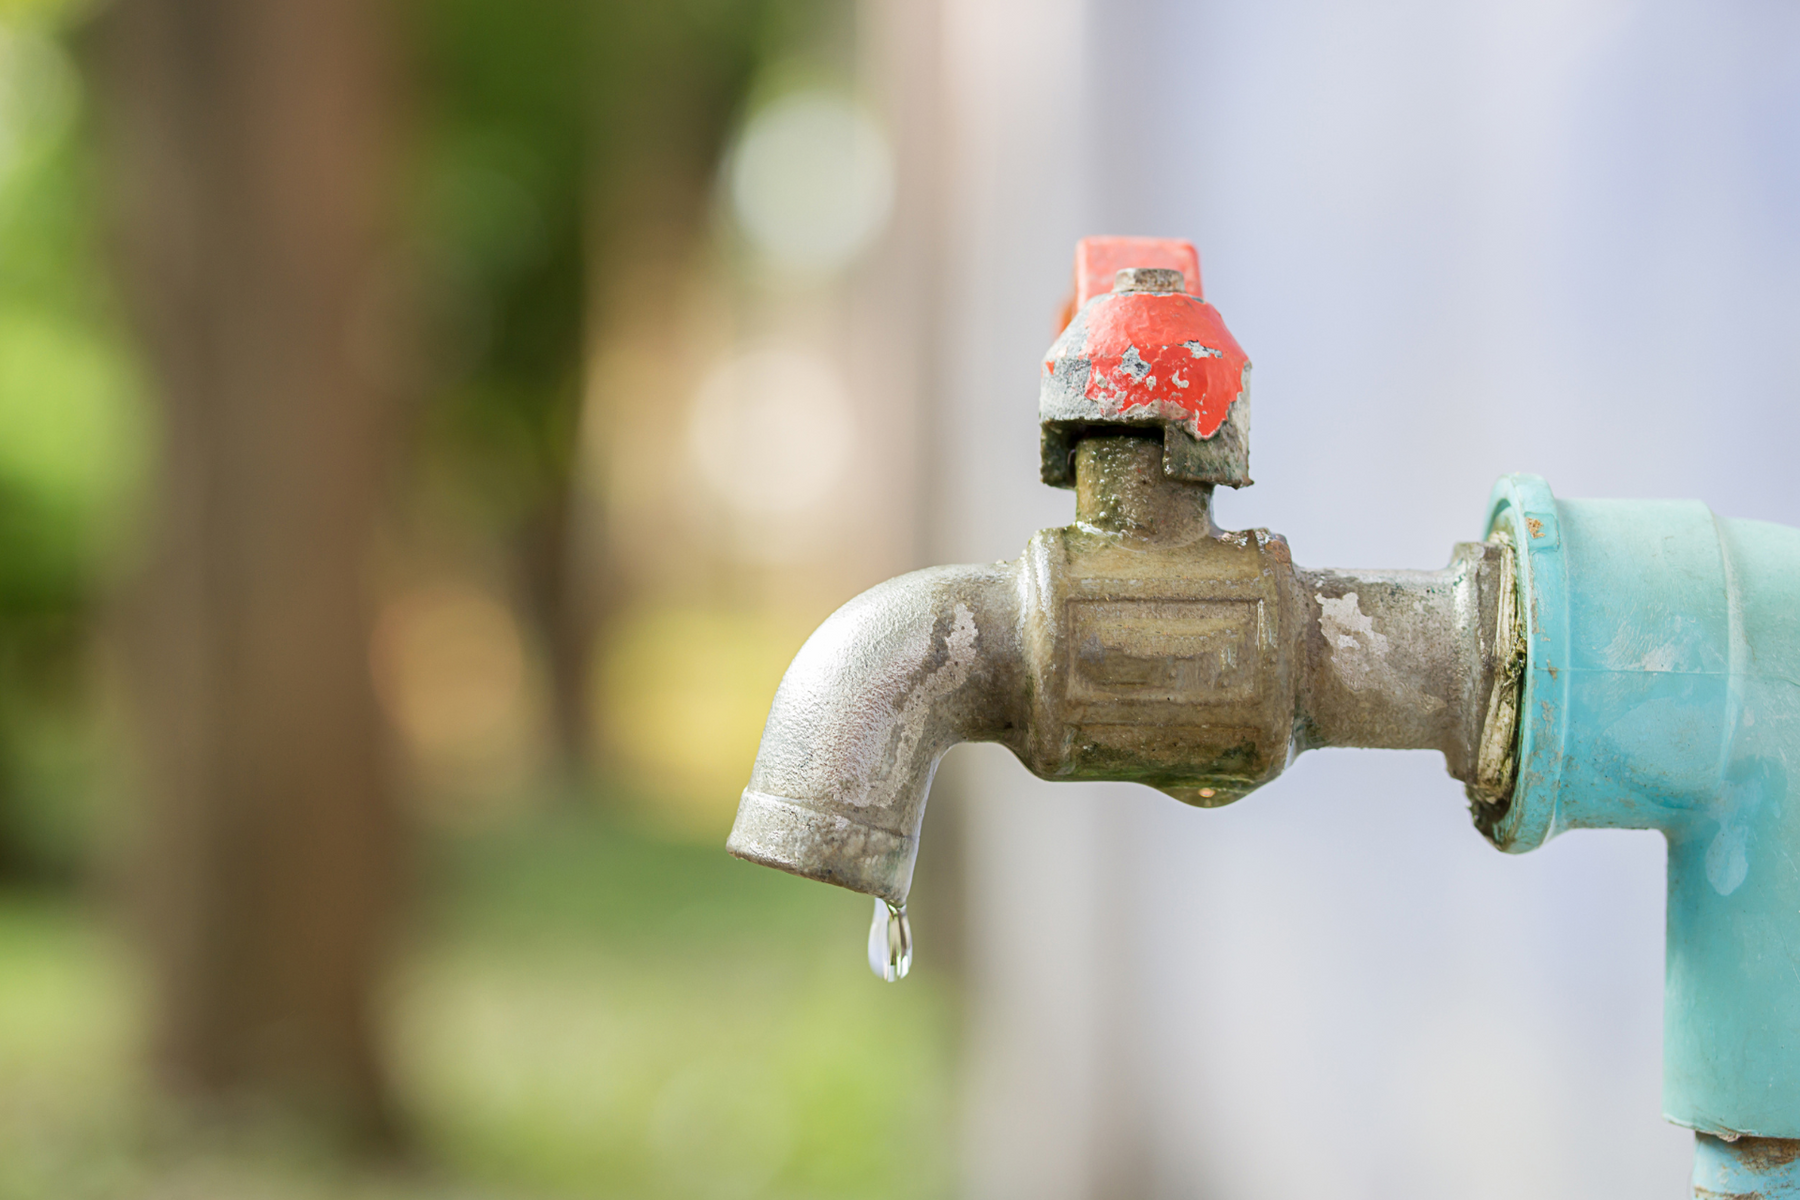
How to Fix a Leaky Outdoor Faucet
A functional outdoor faucet provides easy access to water for many tasks, such as washing your car and watering your plants. However, a dripping outdoor faucet can quickly turn a convenience into frustration, wasting water, growing mold, and potentially causing damage to your home's exterior.
Fixing a leaky outdoor faucet is a simple DIY project. This guide helps you locate and repair the leak. Before starting, prioritize safety by turning off the water meter. The shut-off valve is usually near your home's foundation or basement.
Identifying the Leak Source
There are three areas where leaks commonly occur in a faucet:
-
Packing Nut: At the base of the handle where the faucet stem meets the hose bibb faucet body is the nut. A loose packing nut may lead to a slow drip or leaks around the handle base.
→ Learn How To Fix Packing Nut Leak
-
Valve Stem Washer: This washer in the faucet body seals around the valve stem. A worn washer can lead to a faucet spout leak.
→ Learn How To Fix Washer Leak
-
Vacuum Breaker: Part of the outdoor faucet assembly that prevents backflow in your water supply. Frost-proof faucets are built with this while others have it as an anti-siphoning addition. A leak from the vacuum breaker typically signals a malfunction and necessitates replacement.
→ Learn How to Fix Vacuum Breaker Leak

Source: Canva
Tools and Materials
Part of learning how to fix a leaking outdoor faucet is knowing and gathering the necessary plumbing tools and materials. Here's a list of what you'll need:
- Adjustable wrench
- Screwdriver
- Pliers
- Complete outdoor faucet replacement kit
Related: Types of Pipe Fittings and Their Applications
Fixing the Leak
Here's a step-by-step guide for addressing each common leak source.
Packing Nut Leak
This is the most common type of leak on a hose bibb faucet and the easiest to fix for an outdoor faucet repair.
Tools you'll need: Adjustable wrench
Steps:
-
Double-check the water supply is off: Ensure the water supply valve is closed and there's no pressure on the faucet.
-
Tighten the packing nut: Using your adjustable wrench, turn the packing nut clockwise in small increments. Avoid over-tightening; this can damage the faucet.
After tightening the packing nut, slowly turn on the water supply and check for leaks. If the leak continues, move on to the next tutorial.

Source: Canva
Washer Leak
If tightening the packing nut doesn't stop the leak and water drips from the faucet even when the handle is off, consider replacing the valve stem washer.
Tools you'll need: Adjustable wrench, screwdriver, pliers
Steps:
-
Turn off the water supply: Ensure the water supply valve is turned off.
-
Remove the handle: Locate the screw at the base of the handle and use the screwdriver to remove it. The faucet handle should pull off easily.
-
Access the valve stem: With the handle removed, you'll see the valve stem packing nut (usually located above the handle). Use the adjustable wrench to loosen and remove this nut.
-
Remove the valve stem: Once you’ve removed the packing nut, you’ll find the copper valve stem peeking out. Remove it by hand or with pliers to get to the faucet washer assembly at the end of it.
-
Replace the valve stem washer: Unscrew the stem end screw at the end of the valve stem, remove the worn washer and replace it with a new one from the outdoor faucet repair replacement kit.
-
Reassemble the faucet: Screw the valve stem packing nut back on and tighten it snugly using the adjustable wrench. Reinstall the handle and tighten its screw with the screwdriver.
Turn the water supply back on slowly and check for leaks around the handle and spout. If leaks persist, consult a qualified plumber for further assistance.
Related: How to Fix a Leaky Tub Faucet
Vacuum Breaker Leak
Whether you have a frost-proof faucet with a built-in vacuum breaker or a hose bib faucet with an external one, you need to replace the entire component if it’s causing a leaking outdoor faucet.
Tools you'll need: Adjustable wrench, screwdriver, pliers, outdoor faucet vacuum breaker replacement kit
Steps:
-
Turn off the water supply: Ensure the water supply valve is completely shut off.
-
Locate the vacuum breaker cap: The vacuum breaker is typically a small cylindrical component attached to the top of the faucet body with a mushroom cap. Remove the cap to find the vacuum breaker.
-
Follow the replacement instructions: Follow the instructions from your faucet manual or the replacement vacuum breaker packaging to remove the old vacuum breaker and install the new one.
Turn on the water supply slowly and check for leaks. Ensure there are no outdoor leaks around the vacuum breaker or anywhere else on the faucet.

Image source: Canva
Fix The Leak Fast with NYDirect
Whether you're fixing an outdoor faucet leaking, installing a new showerhead, or tackling a bathroom remodel, NYDirect has every plumbing tool and kit you need to get the job done right.
As America’s number one plumbing supplies retailer, we offer a vast selection of top-quality plumbing supplies to tackle any project, big or small. Access high-quality products at exclusive discount prices, saved only for our pros.
Contact us or your nearest NYDirect store today and discover the plumbing supply difference!Shop Popular Brands
America's Leading
Plumbing Supplies Retailer
Save big on plumbing essentials with
our wholesale prices!





Leave a comment